There are very few website elements that combine visibility, simplicity, and conversion power quite like the announcement bar. It’s subtle yet impossible to miss and when designed correctly, it nudges visitors toward action without interrupting their experience.
There are very few website elements that combine visibility, simplicity, and conversion power quite like the announcement bar. It’s subtle yet impossible to miss and when designed correctly, it nudges visitors toward action without interrupting their experience.
A sticky bar hits the sweet spot: noticeable without hijacking the screen. Let’s walk through exactly how to add one even if you’re not technical.
What Is a Custom Website Announcement Bar?
A notification bar is a narrow banner placed across the screen to communicate brief messages or promote limited-time offers.
Think:
- Product launches
- Discounts
- Updates
- Lead magnets
It’s direct communication with every visitor.
Method 1 – Code It Yourself
You can manually create a sticky header using CSS and JavaScript for full styling control but it requires web development knowledge.
Best for technical teams only.
Method 2 – Use a Tool (Recommended)
Most businesses choose software because it removes friction.
Typical workflow:
- Sign up
- Add your site
- Generate the script
- Create a widget
- Preview and publish
Done.
No engineering sprint required. If you want deep customization without touching code, platforms like EaseNotify are built templates specifically for modern teams.
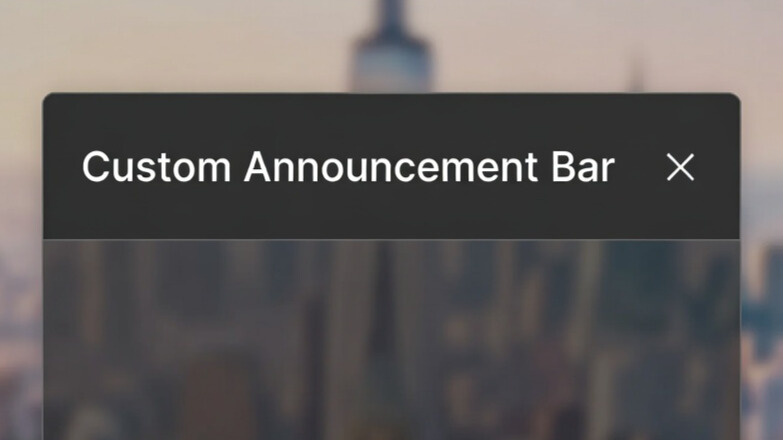
Example: Adding an Announcement Bar
These announcement can be added to Wix, Shopify, WooCommerce, WebFlow, WordPress
The process is surprisingly simple:
- Choose a template
- Customize text and colors
- Copy the code
- Paste into your editor
- Publish your site
You can also add CTA buttons like “Shop Now” to drive engagement.
Features Your Customizable Announcement Bar Must Have
Modern marketers expect more than static banners.
Look for:
- Display rules
- Session targeting
- Branding controls
- Preview modes
For example, targeting returning users with a discount can amplify engagement.
Best Practices for High-Converting Bars
Align With a Goal
The best banners exist to guide users or spark an action — not fill space.
Optimize for Mobile
Over 70% of traffic is mobile, so your design must adapt — not just shrink.
Keep It Minimal
Clear spacing and one CTA reduce intrusiveness.
Common Mistakes
Displaying the same message everywhere reduces effectiveness. Instead, show promotions only where they’re relevant.
Tools for Creating Customizable Announcement Bars
Popular options include:
- Easenotify.com
- Hello Bar
- ConvertFlow
- Wisepops
- Getsitecontrol
But if flexibility, speed, and targeting matter, EaseNotify is worth evaluating as a modern alternative.
The 5-Minute Setup Philosophy
You don’t need complexity. You need momentum because the faster you launch messaging…
…the faster you learn what converts.
Final Thought
Your visitors are already scanning your site for answers. A great announcement bar simply gives them one immediately.
Install it once, Optimize it often.
And let it quietly drive growth in the background.
2 thoughts on “How to Add a Custom Announcement Bar to Your Website in 5 Minutes (2026 Guide)”